✦ Record 5 Flos
✦ Customize with video editing
✦ Add Interactive elements


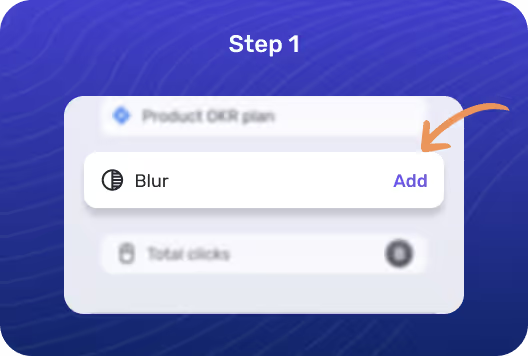
Once you click on the chrome extension, the recording will pause immediately. You will be able to see the screen pop up with the Blur button.
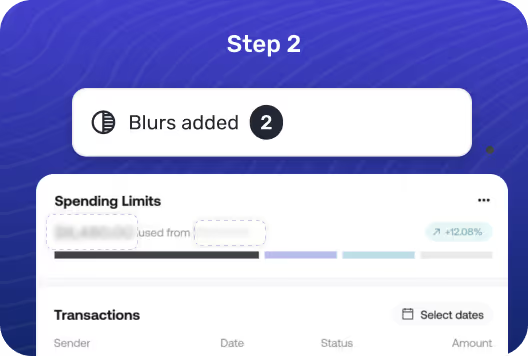
Choose the blur option from the right side of the pop up screen and start adding blurred spots on a tab or across multiple tabs/windows.
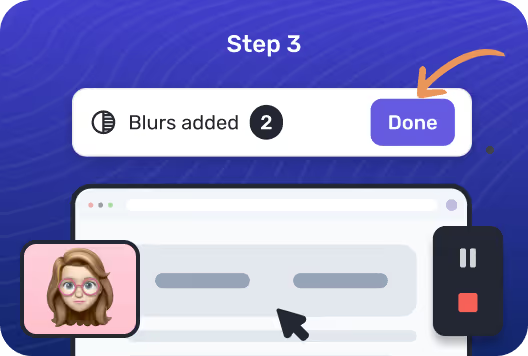
Once completed, hit done on the bottom-left corner of your screen. You can now resume or start your screen capture.
Sales teams can now share success case study collaterals from relevant industries by fading out sensitive information of existing customers
During async demos, prevent accidental sharing of confidential details while still conveying the necessary information by hiding crucial elements
While using product screenshots in explainer videos and sharing across social media, or websites, blurring can help hide personal data
In certification courses or webinars, blurring can be used to hide irrelevant parts of a screen and focus on specific sections to prevent distractions.
Not yet, we are building that feature out just for you. Just hang in there!
Yes absolutely, you can do that. Just click on the blurred portion to undo the blur effect. These blurred sections will automatically reset when you start a new recording.
You can find the Blur feature in Floik's chrome extension. You can access the Blur feature before or during a screen capture to hide sensitive information and keep the privacy intact.